Outlook might be the place where you receive important work updates like new orders, shipment details, assignments, or even support requests. But the real collaborative work happens in a database system like Notion. In Notion, you can easily keep track of requests and assign them to team members without losing details in the depths of your inbox.
Instead of manually creating tasks in Notion when you get important emails, try connecting Microsoft Outlook and Notion using Zapier. With a Zap—Zapier’s automated workflows—every new email can become a new item in your Notion database automatically. Here’s how.
New to Zapier? It’s workflow automation software that lets you focus on what matters. Combine user interfaces, data tables, and logic with thousands of apps to build and automate anything you can imagine. Sign up for free.
Before you begin
First, make sure your Notion database has the right fields to track the information you need from your email.
In our example, we want to create a database that shows the sender name, subject, and contents of the email. Add whatever columns work for your needs.
How to create Notion database items from new Microsoft Outlook emails
Zapier lets you create automated workflows called Zaps, which send your information from one app to another. You can create your own Zap from scratch without any coding knowledge, but we also offer quick templates to get you started.
If you’d like to start with a template, click on the Zap template to go to the Zap editor. You’ll need to create a Zapier account if you don’t already have one. Then, follow the directions below to set up your Zap.
Set up your Microsoft Outlook trigger
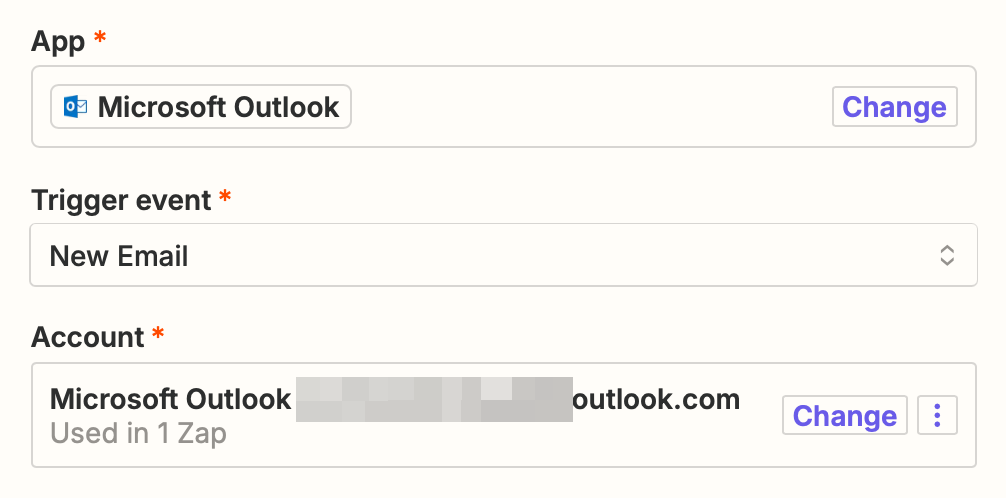
First, set up your trigger step—the event that starts your Zap. Search for and select Microsoft Outlook for your trigger app and New Email for your trigger event. If you’re using the Zap template, these will be selected for you. Next, sign in with your Microsoft Outlook account, if you haven’t already, then click Continue.
Next, you can choose to specify a shared inbox email address, if you’re sharing one with your team. Leave this field blank if there’s no shared inbox for this account. Then, click Continue.

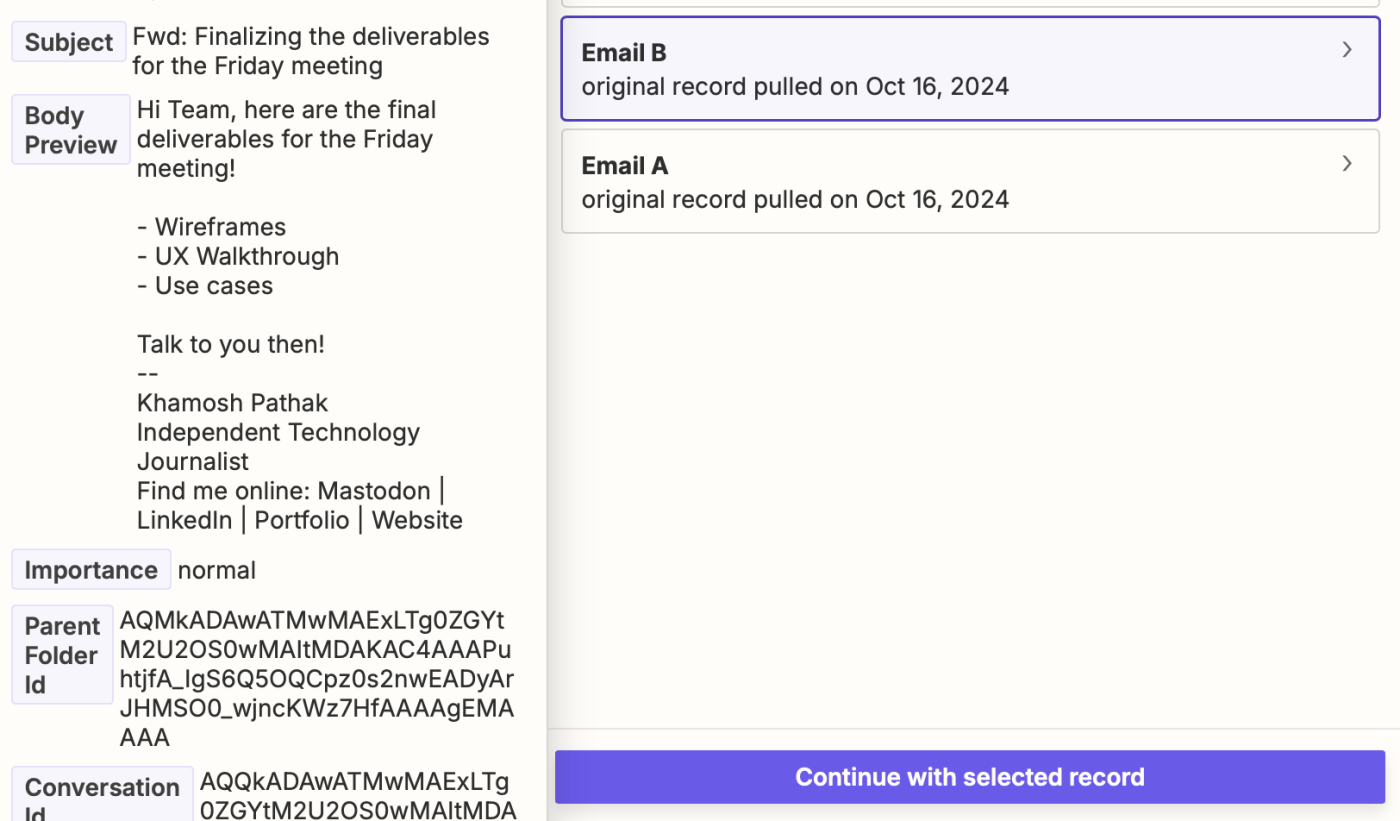
Next, click Test Trigger to pull in test data from Microsoft Outlook. If you haven’t received any emails in this account yet, we recommend you send one to yourself. Click on an email response to expand and view the email content. Then select the email you’d like to test with, and click Continue with selected record.
Set up your Notion action
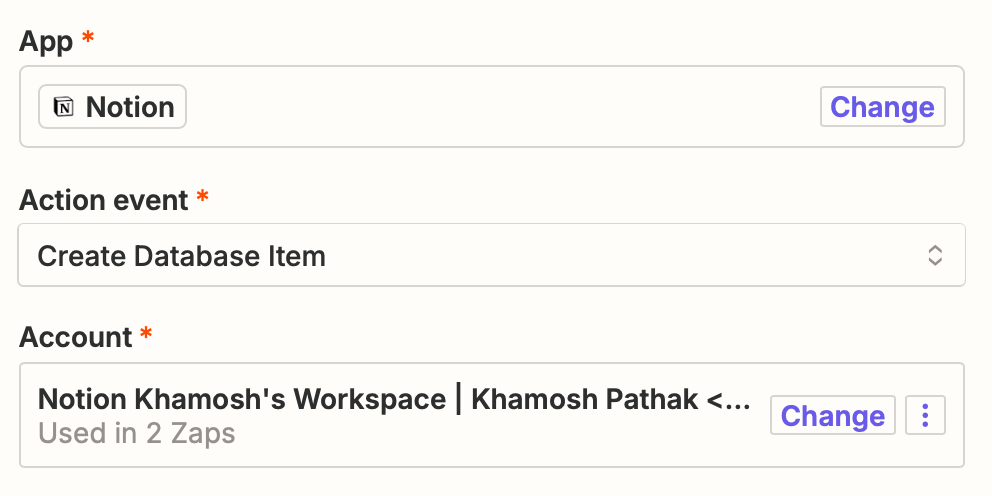
Next, we’ll customize the action step. An action is an event a Zap performs after it’s triggered. We’ll use Notion for our action app and Create Database Item as our action event, which will be selected for you if you’re using the Zap template. Then, connect your Notion account, if you haven’t already, and click Continue.
Next, select the Notion Database where you want to add your email tasks. Once selected, Zapier will automatically update the step with all the column headings from the Notion database.

Now, you’ll want to map the data pulled from your email trigger step to the appropriate columns in your Notion database.
For our example, we have three column headings, and we will map it with the relevant data coming in from Microsoft Outlook.
To add data from your trigger step, click the + icon in any field or use the forward slash (/) keyboard command to open the data popup.
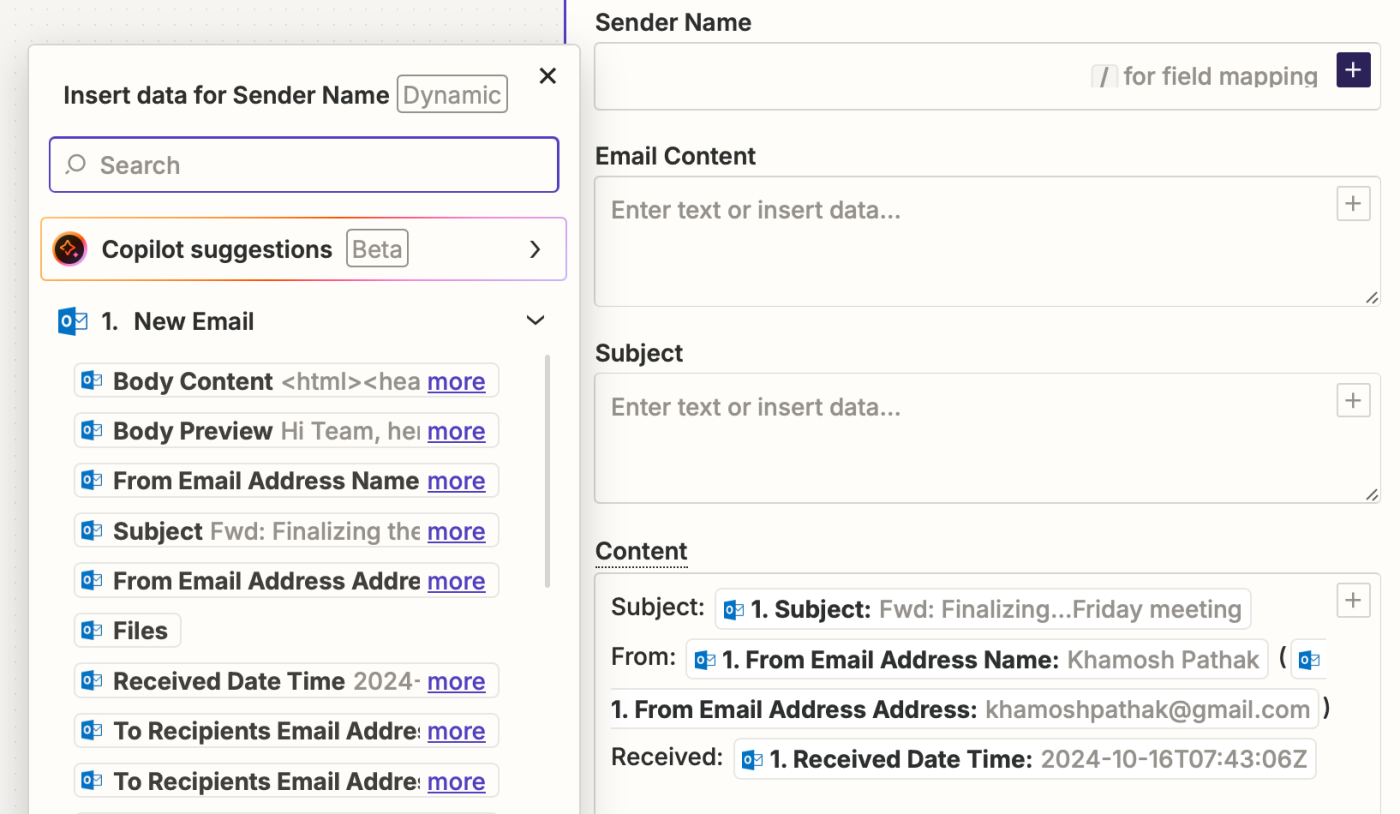
In our example, we’ll map the Sender Name field with From Email Address Name, the Email Content field with Body Preview, and the Subject field with Subject. If you have more fields, feel free to map them accordingly.
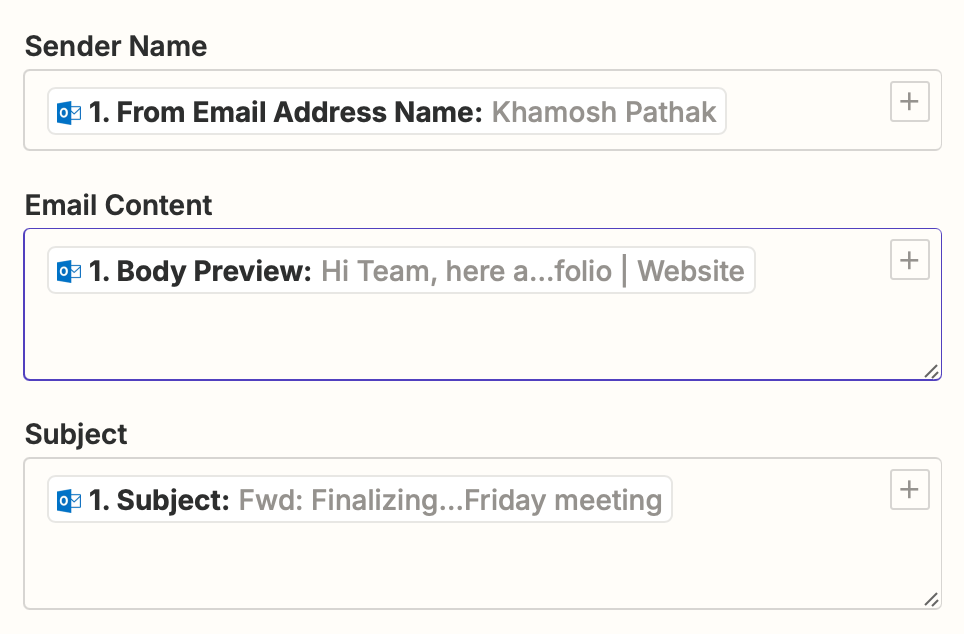
If you’re using the Zap template, the Content field will already be filled out with static text and data mapped from your email step. But feel free to tweak the content to whatever fits your needs.
Lastly, you can customize the Content Format if you’d like. By default, Markdown will be selected, which Notion supports really well. Markdown is a simple, syntax based format, which will make sure that formatting from your email works in Notion. If you’re facing any weird formatting issues though, you can switch to the Plain Text format here.
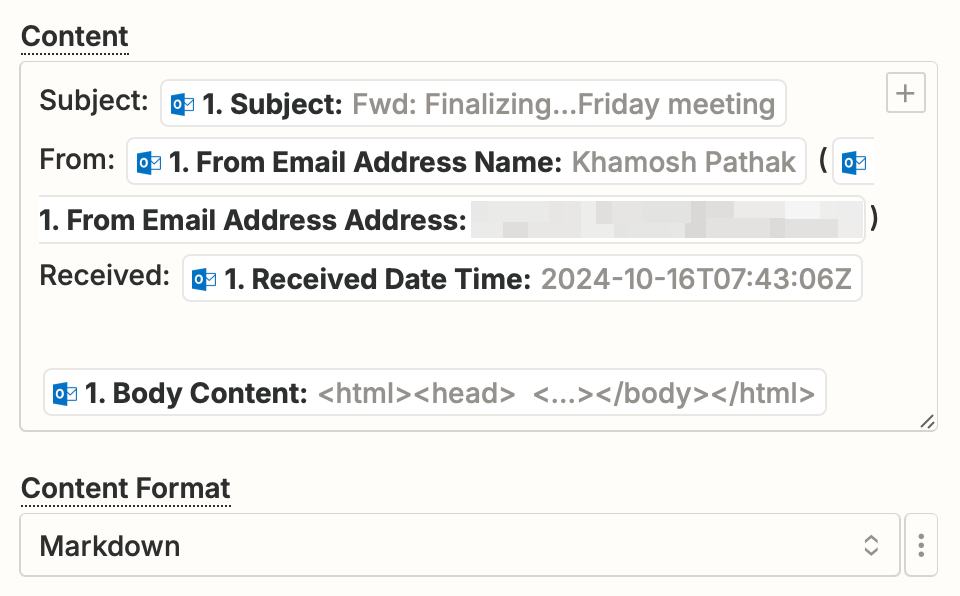
Once you’re done customizing your action, click Continue.
Next, click Test step to test your Zap. Zapier will send the test data to the Notion database that you picked before. Double check your Notion database to make sure your item looks right.
Here’s what our database item looks like:
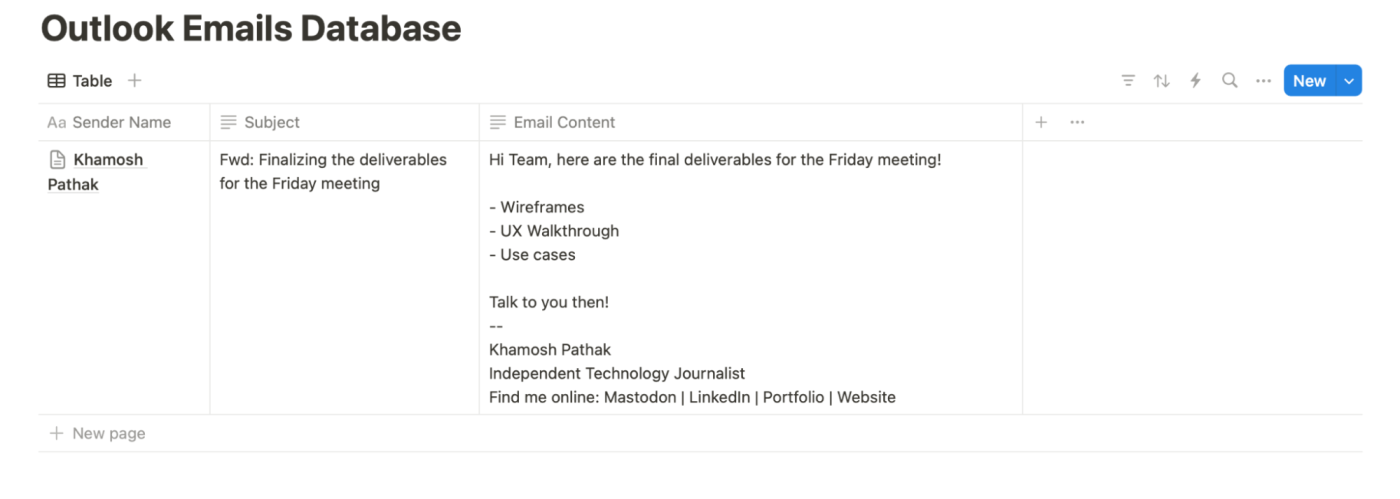
If everything looks good, you’re ready to use your Zap. Now, every time you get a new email in your inbox, all the details will show up in your database, ready to be shared with all your Notion team members.
This article was originally published in September 2023. It was most recently updated by Khamosh Pathak in October 2024.


